# How to protect your FiveM server (Linux)
Learn more about the DOs and DONTs of FiveM server management, and how you can improve your overall player's experience simply and for free.
So first of all, hello and welcome.
You might be aware that there's a ton of ways to correctly protect your GTA RolePlay server against threats. But what's a good protection?
First from a connection standpoint. Whether you use a DDoS protection (like Cloudflare), a robust firewall or pretty much anything related to "how players connect to your server" can help more or less to protect your server.
I want to say that this article won't talk about any anti-cheat script or anything in-game related. Simply because, it's not my expertise area.
But today, I want to show you a way of protecting your instance that you've never seen before, it's not only simple to do, it's also free. Sounds exciting huh?
Well, let's dig in!
1. Understanding the basics
To help you better understand how to correctly protect your server, you first need to know, why should you protect your server?
It might seem stupid to ask this question in the first place, but hey, it's never a good idea to stay in the dark.
So, the reason you need to protect your server, is actually two reasons :
Protect against security breaches (file steal or data steal)
Protect against DDoS attacks (stopping your player from connecting)
FiveM is known for it's "one of a kind" community. As you may know, people on this platform aren't known for being particularly nice and welcoming.
That's why you absolutely need to protect your server. Not only is it important for you, to avoid losing players because they can't connect to your server. But also for your community, because if they know that whenever they come on your server, they only have 10 minutes of playtime before the server closes. They won't come back. And we don't want that, do we?
Know that you are aware of the reasons for protecting your server, let's get into the step-by-step guide I made.
2. Prerequisites
For this tutorial you need a bit of preparation.
First be sure to have everything listed under here :
A Cloudflare account (if you don't know how to create your account click here)
A domain name routed to Cloudflare's Network (if you don't know what I'm talking about click here)
A FiveM server running on a VPS
A remote SSH connection to your VPS (root is better but will work as a sub-user)
Your FiveM server's IP and PORT (usually something like: 100.100.100.100:30120)
I know that I might be disappointing some people by saying that this tutorial only works for FiveM servers running on a VPS. This means that if you're running your server on a game server like ZAP-Hosting or a similar service, this setup won't apply.
But be reassured to know that most game servers, are already secured by the provider, so you shouldn't be under too much of a threat. If you still do you might want to look into a manual setup of your server on a vps.
Now that you have everything set up, let's continue.
3. Create a reverse proxy
First and foremost, what is a reverse proxy? Compared to a normal proxy, a reverse proxy is used to redirect all the traffic to a specific target. You can see it like a funnel.

But, what's the point of having one? Well the main point of having a reverse proxy, will be to hide your server's IP from players. This way you can be sure to only let players connect to your server and nothing else.
If you use Cloudflare, you can also redirect players connection to the closest server. Sort of like a VPN. Thus improving their connection reliability and even speed in some cases.
4. Configuration and installation of your Cloudflare tunnel
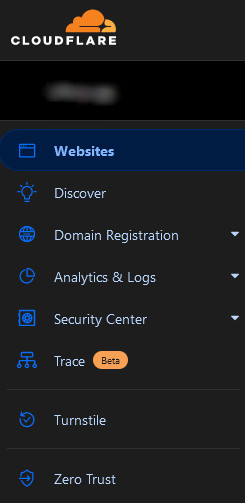
Go to your Cloudflare dashboard, once logged in and once you have a registered domain click on the Zero Trust tab in the left-hand menu :
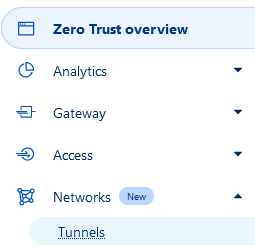
From there it will take you to a new page : one.dash.cloudflare.com From there you simply need to go to the "Tunnels" section which is located under the "Networks" section.
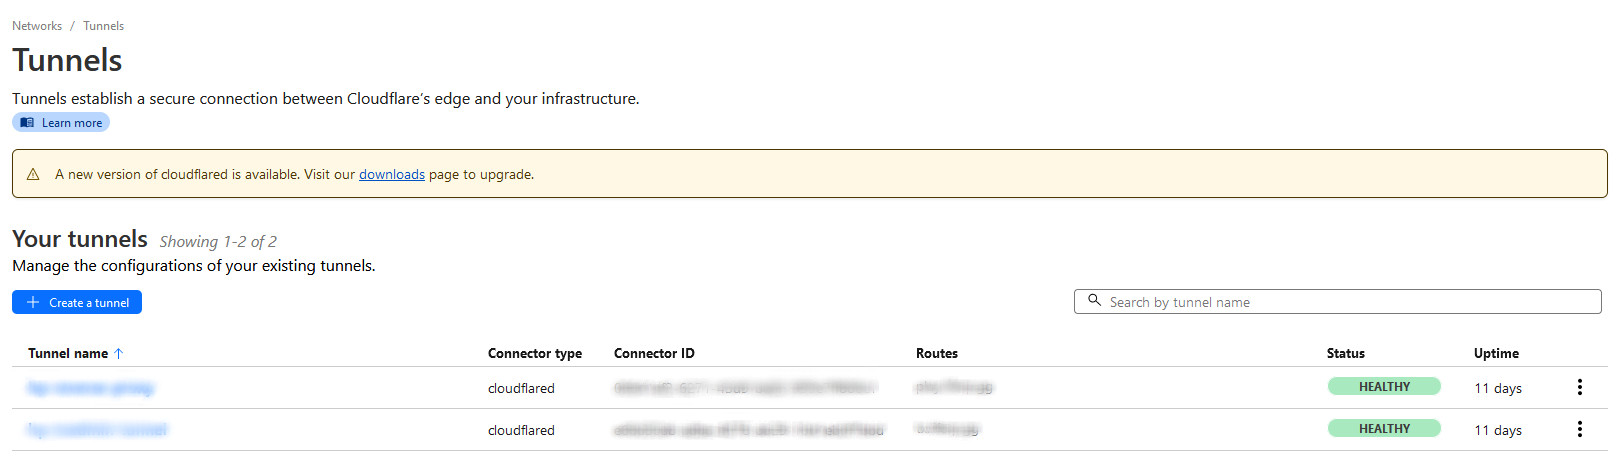
On this new page, you shouldn't see the 2 rows like me, but you should see a big box that says create a new tunnel. Either way, click on the blue button labeled "Create a tunnel" at the top left.
Once you clicked it should get you to this page :
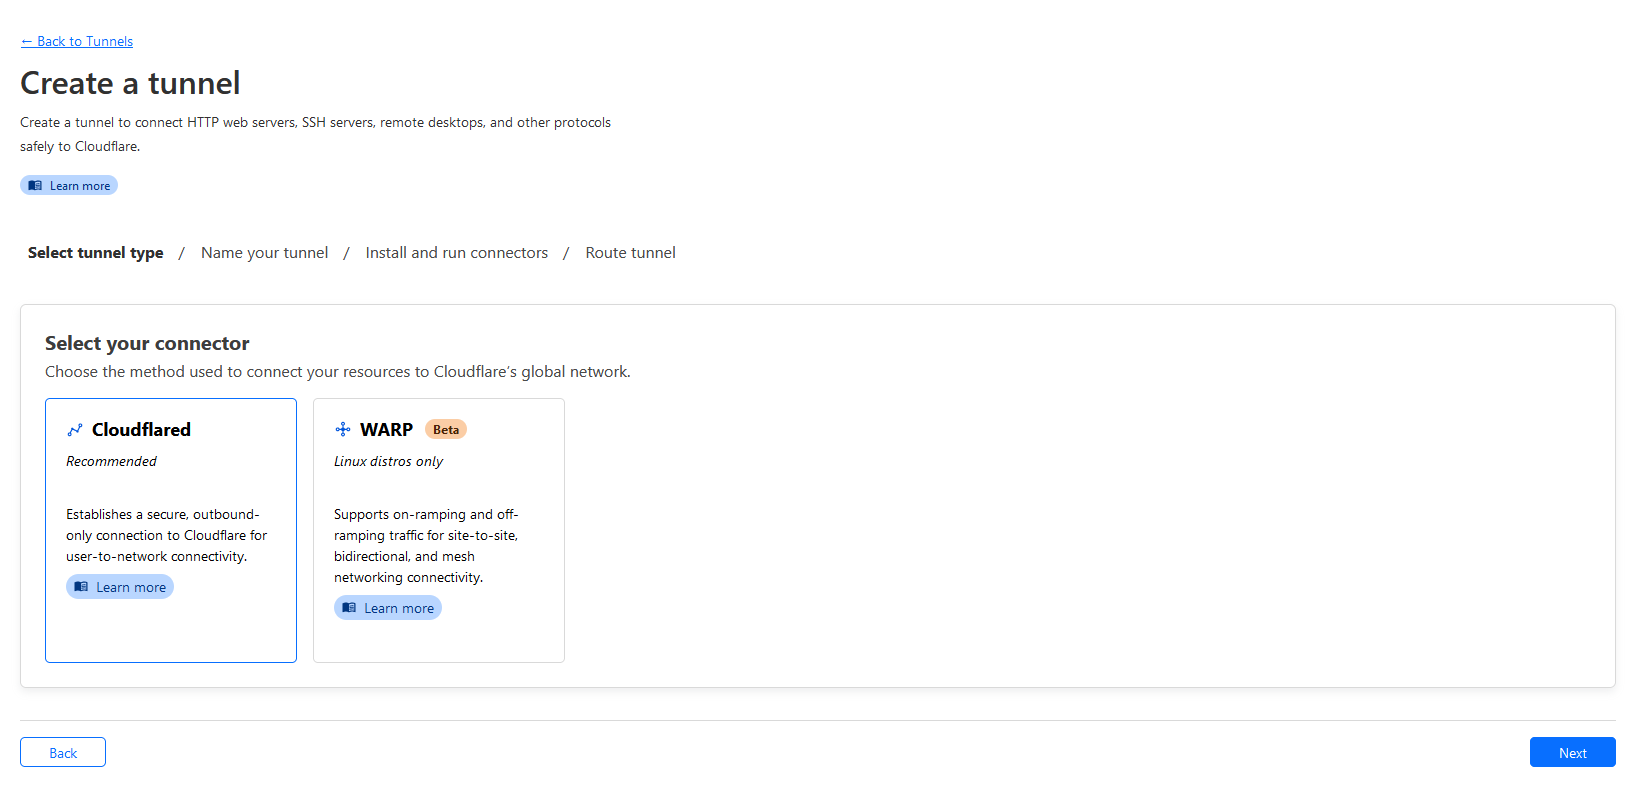
Here you want to select "Cloudflared" and continue.
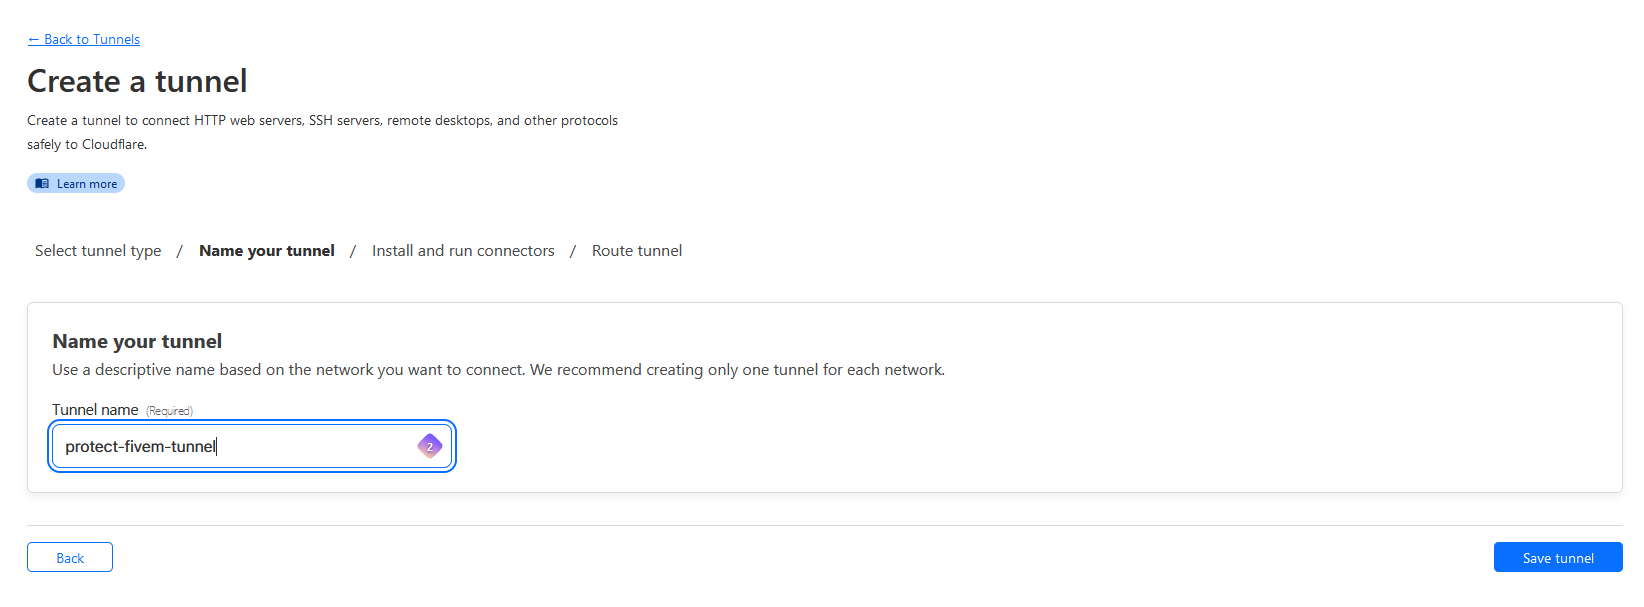
Name your tunnel the way you want, it's just for your reference. And click "Save tunnel".
Now we are going to let that sit a few minutes, to switch on the VPS and make some installation and checks.
Connect to your VPS terminal by an SSH connection, and type :
> byobu -v
This is to check if you have byobu installed on your VPS, if it doesn't return this or something along the lines of it :
> byobu -v
byobu version 5.133
tmux 3.2a
It means byobu wasn't installed. To do so, just execute those two commands :
> sudo apt-get update
> sudo apt-get install byobu
This will install it. Byobu is a screen manager, you will understand a bit later why you need it.
Once byobu is installed correctly, you need to check if you have docker installed. Same step. First check if you have it by checking it's version :
> docker -v
Docker version 25.0.3, build 4debf41
Now if you don't have it, you can quickly follow this guide to install Docker.
Once you are all done with the installation, it's time to run your first docker container for your reverse proxy!
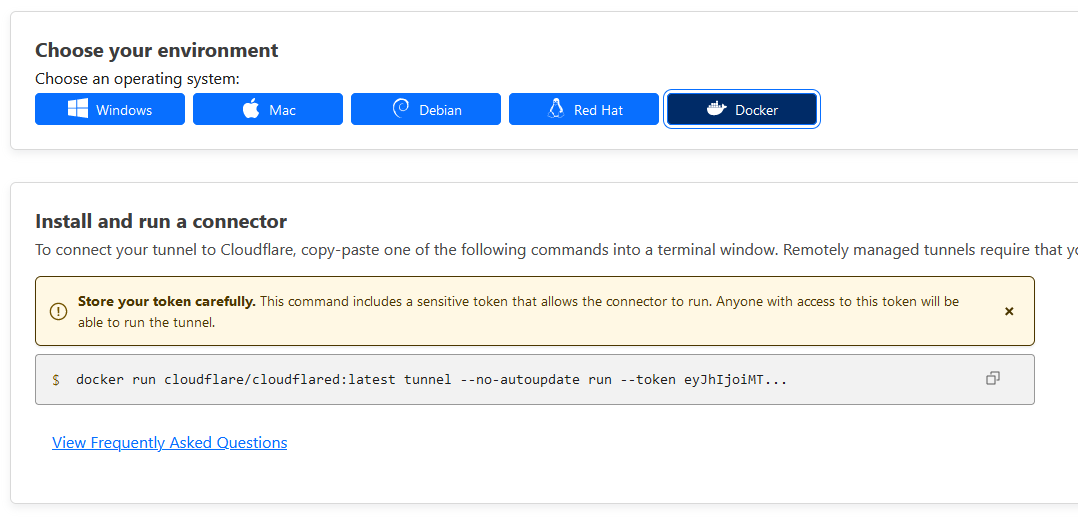
Go back to your Cloudflare dashboard and there select the docker icon :
Now before running this new cloudflare tunnel, we first need to start a screen. This will ensure that even if you leave your SSH connection the process will keep on going.
So to do that, just type :
> sudo byobu
This will open up a quite different terminal inside your terminal :

With this kind of stuff at the bottom of your terminal. If it's the first time you open it, you will have a fresh new screen but if you have for some reason already a process going on it, you have to press F2 to create a new screen. (You can toggle between the different screens with F3 / F4)
In this new screen you can now copy/paste the command line cloudflare gives you in the dashboard :
\Be sure to keep a copy of this command somewhere it might be useful for you.*
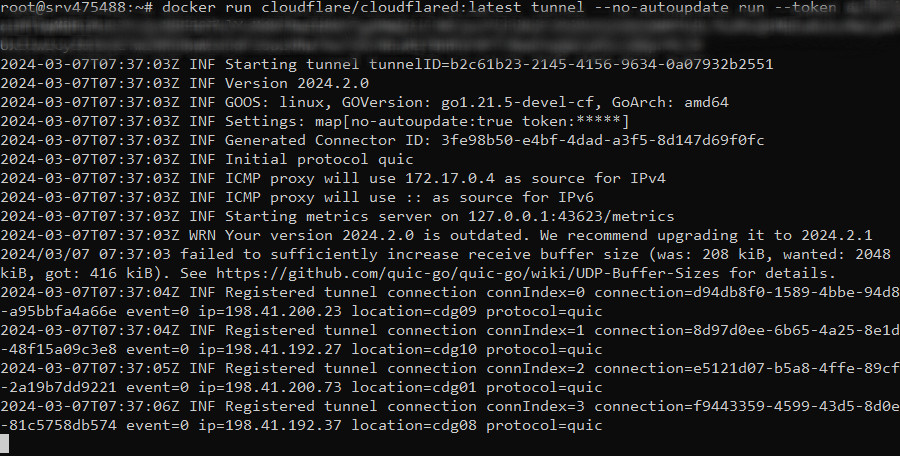
You should see a bunch of stuff getting displayed but don't worry that's all normal. Once done, go back to your dashboard, and you should see a new connector :
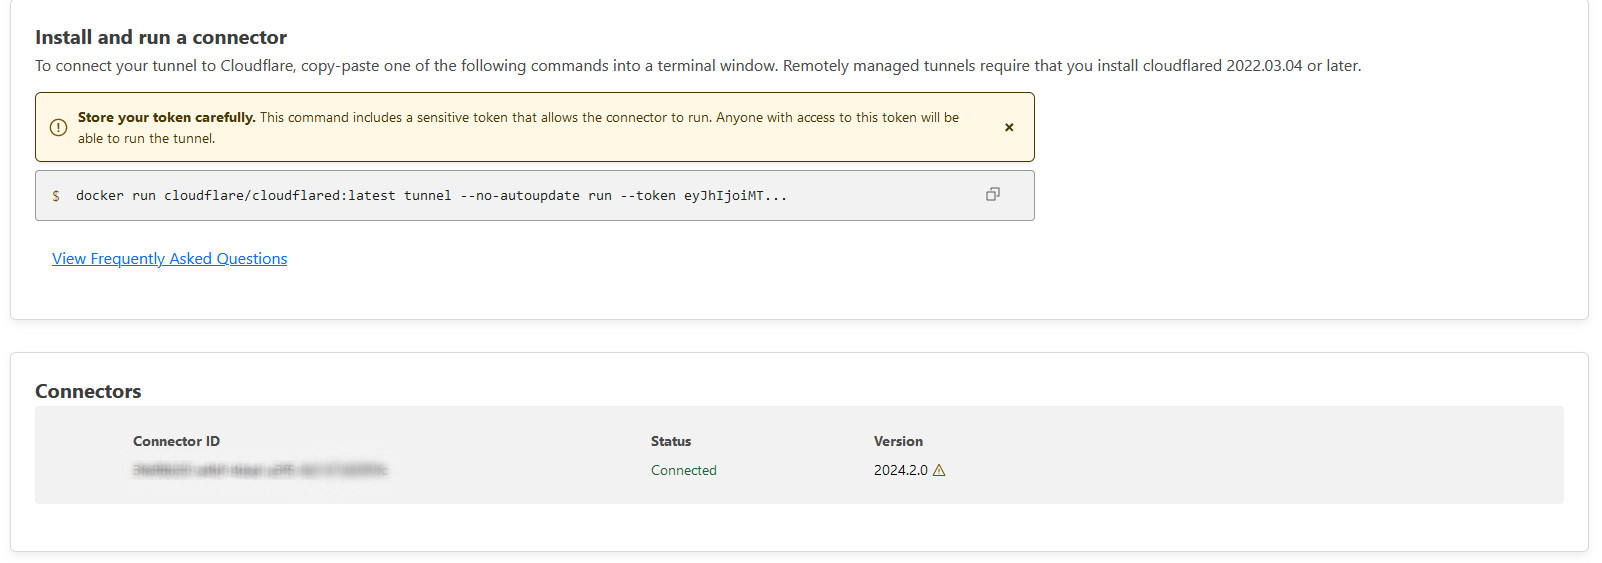
Once you see it, just hit "Next" at the bottom right.
On the next page you have to type everything related to your server :

So for example you could type in those information :
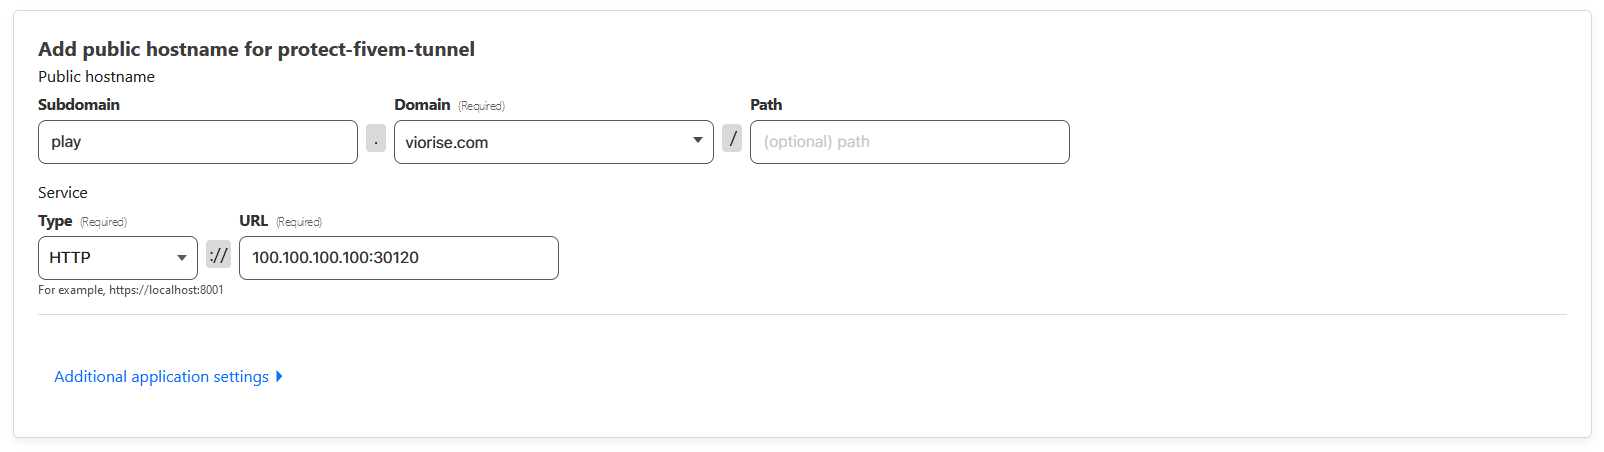
The really important parts of this configuration, is that you choose a simple subdomain so your players can remember it, and that you specify in the "URL" part your server's actual IP and PORT.
Once you are done with that you can skip the additional application settings and click on "Save tunnel".
And voilà! Your FiveM server is now behind a proxy!
The only last thing to do is add those settings in your server.cfg and restart your FiveM instance and your server should be accessible by the URL :
## Proxy settings
sv_forceIndirectListing true
sv_listingHostOverride play.viorise.com
sv_listingIpOverride "play.viorise.com"
Change those 2 (sv_listingHostOverride and sv_listingIpOverride) values to your actual domain name and subdomain.
Be sure to clear your FiveM's cache before reconnecting, because it will be saved to your old settings and might not connect directly.
You can now tell your players they can use the connect "https://play.viorise.com" command in their console, without risking to leak your server's IP!
5. Tests and checks
Now that your server is all protected to be sure that you're all good to go. You can do those tests :
5.1. The DNS lookup
Kind of a barbarian name to just say: "See what's behind a domain name"
To do that just go to this website and type in your domain (e.g. play.viorise.com)
There you can check if you see the IP of your VPS anywhere, and if you did everything correctly you should only see IPs from Cloudflare's network.
5.2. The ping
From your computer, open a command prompt. In it just type :
> ping https://play.viorise.com
You should see a bunch of IPs getting listed periodically, also check if any of them is the one of your VPS, and if you don't see any, then you're good to go!
5.3. The final test
To be absolutely sure your server is fine, and your server's configuration is right. In your browser, just type *your.server-domain.com/*info.json if you see a black page with a bunch of random stuff written on it, it means your server is accessible and running well!

6. Conclusion
There you go, your server is perfectly protected against IP leaks, and the advantage of using a Cloudflare product is that you are also protected against DDoS.
As of today (March 7th 2024) I've only tested this on a Linux FiveM server, but I'm pretty sure you could probably turn this around by renting a small vps to just run your proxy. I will update this tutorial accordingly once I know how to do it.
I hope this tutorial was easy to follow! I tried my best to explain everything clearly.
Thanks for reading!
This is my first tutorial so it will get better overtime hopefully!